Powered By Blogger
Showing posts with label breakfast. Show all posts

Monday, November 21, 2011

Cranberry Crunch Muffins: Feed 'Em and Weep

I am OFFICIALLY overwhelmed. I only THOUGHT I was crazy before but now I'm in that unholy land of so much to do that depends on someone else getting their crap done so I'm spinning my tires. I'd rather EAT the moving boxes than be in that position. The Dev's is doing his very best to calm me but he has seen the crazy in my eyes and knows it's basically just a countdown to meltdown now.


All this while trying to keep the kids from going haywire and reassure them that their stuff isn't going into a box so I can donate it (yet). Thing 1 has moved with us a bit so she knows to roll with it...plus she's seen what her new bedroom is going to be. Thing 2, on the other hand, is sensing my stress. Packing with a toddler could be an Olympic event, I'm convinced.

And the baby? he's too busy growing and farting to care. (How can something so sweet and cute stink so much????)

But despite all that looms on the horizon, Thanksgiving is coming first and that means gratitude and food in delicious cooperation.

With so many great flavors this time of year, it's easy to whip up some yummy breakfast items to stave off the  maddening crowd while you prepare the turkey day feast.

These cranberry muffins are a perfect example of using what is in season....I didn't use oranges for my batch since I have some tangerines on the counter.


Preheat the oven to 375 and spray or line your large (think coffee house) size muffin pans.


 4 cups Ap
1/2 cup sugar
2 tbs baking powder        Blend together in a large bowl.
1 tsp salt
zest of one orange


2 eggs
1/2 cup veg oil
1 1/2 cup milk                 Whisk together before adding to the dry stuff but don't over-mix.
1/2 cup orange juice


2 cups chopped cranberries  Now add these and stir together before filling muffins cups 2/3 full.


1/2 cup chopped walnuts    
1/2 cup brown sugar
1 tsp cinnamon


 Sprinkle the walnuts and sugar on top of the muffin batter and bake for approximately 20 minutes.


Tuesday, October 18, 2011

The Pumpkin Bread Recipe I Can Never Find


When the frost is on the pumpkin and the fodder's in the shock and the duh duh duhduh duh duh something something turkey cock....yeah, I know I had to recite that poem 5th grade but every year I forget a little more of it....which isn't the only thing I find I forget every year. 
I have this nice little pumpkin bread recipe that I really like and every year, I dig through about 20 books and a box full of slips of papers and then I remember what book it's actually in.
 This year, I'm going to be the smart one and just post it on my blog so I know where to find it. You'd be surprised how often I actually do that-post something here so 
I don't lose the darn thing. Often, very very often. 

So, Saturday, I'm stalking my way through facebook and I swear every friend I have was making pumpkin bread and it reminded me of college when somebody would pop some microwave popcorn in the dorms and the next thing you knew, everyone was popping some because the power of suggestion was too great (that was back when the college I went to had one microwave in the dorm, down in the laundry area so if you didn't hurry, you'd by waiting with your little bag for 30 minutes in line behind every one else...I'm so old).

Anywho...

This recipe makes a nice couple of 9x5 loaves so you can store one in the freezer if you'd like. We've been eating it for breakfast over here and it's been nice and moist for quite a few days now. 

Here's what you need:

Preheat the oven to 350 and prepare your pans. I think this also breaks down to 7 mini loaf pans if that's your thing. 

In a medium bowl. blend together the following dry ingredients:
3 1/2 cups AP flour
2 tsp baking soda
1 tsp baking powder
1 tsp salt

Now for the spices....true confessions, I don't measure my spices because I love fall spice and the idea of measuring 1/4 tsp of fresh ground nutmeg has always seemed ridiculous to me. Basically, you want a blend of  cinnamon, nutmeg, clove, ginger and black pepper. However it is that you want to get down with your spices is your thing. I like a lot of cinnamon and about a 1/2 tsp of the rest. Mix all of this together with a fork and set aside.
In your mixing bowl, blend
2 1/2 cups sugar
1 cup brown sugar
1 cup oil (vegetable, canola, corn, whatever)

Once this is fully blended, add in
3 eggs
1 tsp vanilla

Now open that 15 oz can of pumpkin puree...make sure it's NOT pumpkin pie filling by the way.
Blend this in and then scrape down the bowl before adding in the dry ingredients. Just mix until nearly combined before pouring in 

1 cup of buttermilk (sour milk, yogurt, sour cream)


Blend smooth and scrape down the bowl to be sure it is well blended. Now, if you're a nutty kind of person, you could also fold in 1 cup of toasted chopped pecans and it will be lovely but I actually like this recipe without. It makes a really beautiful but firm bread that slices nicely.Divide the batter between the pans and tap them on the counter to remove any bubbles. I sprinkled the tops lightly with cinnamon sugar as well to create a bit of a crusty crunch on top. 

Bake for 35-50 minutes, depending on your oven. Check with a toothpick or thin-bladed knife to be sure it is fully done on the inside before removing to a cooling rack. Let it cool in the pans for 10 minutes before turning out to cool completely. Wrap in a bit of waxed paper or parchment and seal in a ziploc bag for storage once the bread is completely cooled. 
There, now I won't loose this silly thing again....

Thursday, October 06, 2011

A New Series For A New Chapter in Life: The Back of the Box

If you are still reading my blog, bless you for being so faithful while I have been busy elsewhere. My newborn is not so new now. Thing 1 and Thing 2 take turns loving on and then totally ignoring him as they whoosh through their own childhood experiences. And, naturally at this point, we have no real schedule or pattern for sleeping and eating and pooping and sleeping and eating and ....well, you get the idea.

That being said, my time in the kitchen is often more like the challenge round in Double Dare (see-now you know how old I really am). I have to get in, complete the task and feed the family in an unspecified amount of time before our little Dragon in Training (DIT) bursts into alertness with crying. I may have an hour to cook; I may have 15 minutes.

I'm glad I put up some meals in the freezer ahead of time but that cache is now depleted and don't even mention baking. All my years of culinary work in pastry and baking and I'm lucky if I get a pan of rice krispies together for the crew.

Which is actually what led me to think about the recipes that manufactures print on their packaging to help the consumer think of the product as versatile and indispensable. It reminds me of the post-war boom of marketing launched by convenience foods and name brands like Betty Crocker, Duncan Hines and Pillsbury.  Cake mixes, proof-n-bake rolls, dough in a tube. Meet George Jetson.

Some of the recipes found on the packaging are actually pretty good, even the off-brands from the store have some interesting ones. That's not to say that I'm about to give up on baking from scratch. But in my quest for balance in the my universe, I am willing to take short cuts now and then if it means happy kids or a few extra minutes to sit at the table while they talk about their day. They don't need to see my mad baking skills every day to know I'm awesome, right? They'd probably much rather have me give them rice krispy treats while we discuss the finer points of season 2 of the Muppet Show.

For this reason, I'll be adding a new segment to this blog that includes manufacturer's recipes; look for posts labeled "On the Back of the Box" for this group. And don't expect the big name brands either--they have their own websites (and payrolls of which I am not on).  I'm taking on some of the lesser known products out there.

And today's might be the easiest of them all...mini pies.

You need two ingredients: pre-made pie crust and a can of pie filling.


(1) Preheat your oven to 350 and pull out a couple of baking sheets. Either line the sheets or spray them with pan spray.

(2) Roll out the pie shell slightly--I made the mistake of trying to get more out of the dough than I should have and then my dough was too thin and split a little. Just sprinkle a little flour over the counter and on top of the dough and roll the dough enough to get any creases out.


 (3) Using a circle cutter (or the top of a drinking glass), cut out as many rounds as you can. Save the scraps from each of the shells and roll them out for remaining circles. You should end up with a total of 20-24.

(4) Place the dough rounds on your baking sheets.
 (5) Place a tablespoon of filling on dough-too much and it will come out of the sides when it bakes so be careful. Fold over and press with a fork to seal.

(6) Bake for 15-20 minutes until golden. You may want to rotate the sheets in the oven for more even baking.

(7) If you like, brush the mini-pies with some confectioner sugar/water glaze when they come out of the oven and are still hot. You'll get that shiny glaze on them as they cool that way.


Okay, not exactly rocket science, right? But for 20 minutes of work you have a cute little treat that you can pack in lunches, use for breakfast or an after-school treat. You could also serve them two at a time with a scoop of ice cream on top for a twist on a la mode. Have fun with the little guys-that's what they are for.


Monday, June 27, 2011

How I Know I'm Getting Older: Bran Muffins

Today seems as good a day as any to talk about a sensitive subject that most of us would rather not admit we need....more fiber and-specifically-- bran muffins. If it helps, we can pretend it's just you and me here and we're old friends, ok? And I'm just telling you this because I care.....you need more fiber. It's ok--really. I need more fiber too.....


.....of course, I need more fiber because I'm growing a whole other human being in my body and you're just getting old and not eating enough pure foods but we won't get into that right now because I'm your good friend and I care about you, remember?


Bran muffins actually do make me think of my mom's mom. She had a stash of muffins in the freezer and would pull them out for her breakfast every morning. Once every few weeks, she whip up another huge batch and refill the freezer. I vaguely recall my grandfather, who hated all things healthy, rolling his eyes; some men cannot be regimented and my grandfather, with his walnut-crushing hands and his heart as strong as the engines of the railroad he worked for all his life, would take no taming. They don't build them like that anymore...


This batch is huge. It's intended to be mixed all at once and then baked off as you progress through your week. I did that for a couple of days; but then decided that that was more bother for me than worth. So I baked off the remainder of the batter all at once and now have a freezer full of bran muffins (and less excuse to keep eating strawberry pop tarts.) My nesting instincts require this sort of preparation but you can do what  you like. The one instruction I found for the batter as it sits in your fridge is that you aren't to stir it up as you go; but, rather, you are to ladle out the batter as you go.


There are, I might add, lower fat recipes for bran muffins out there. The recipe on the side of the box of Kellogg's Bran Flakes is a perfect example--replacing oil/fat with applesauce and buttermilk with skim and whole eggs with egg substitute. It's a good recipe; use it if you like. I prefer this one because, well, I have buttermilk and eggs and shortening laying about and this seems a perfect use. Motive can be a simplistic force at times, even for someone as brilliant as I.


Here's what you'll need:

6 cups bran flakes (you can use raisin bran if you like or add dried fruit to the batter alternatively)
2 cups boiling water

Stir these together in a large metal bowl. It won't look pretty but don't think about it, 'kay?

Meanwhile, in a mixer bowl, cream together

1 cup shortening
2 cups sugar
1 cup molasses (or a mixture of molasses and honey)

Now add

4 eggs

In a separate bowl, stir together

the flakes/water on the left
the batter on the right
5 cups flour--either AP, whole wheat or a combo of the two (I used all whole wheat and they weren't remotely heavy, just so you know--it's a good disguise)
5 tsp baking soda
1 1/2 tsp salt
1/2 tsp fresh ground nutmeg
1/2 tsp cinnamon


Alternate adding the dry mix to the butter/sugar with 4 cups of buttermilk. At some point, scrape down the bowl with a heavy spatula to ensure a smooth mixture.
the full batter, ready to chill


This is a large mixture so instead of adding the flakes to the batter, add the batter to the flakes/water that is cooling off in the large metal bowl. Fold it all together with a large spatula.


This batter is now ready to go-either into the oven that's been preheated to 375 or into a container that fits in your fridge. The recipe I found says the batter should be used up with in a week but similar recipes I have found go up to a month of fridge time.  Play it safe, okay? And remember the rule of the kitchen: WHEN IN DOUBT, THROW IT OUT.  

So there you go--a classic recipe really--and it can be our little secret.


Thursday, June 23, 2011

Easy Betty Strikes Again: Corn with Bacon and Mushrooms

It's summer time and the livin' is easy.....well, it should be because I'm really really lazy right now. That said, all the recipes that are being posted right now for easy sides and dinner ideas are catching my attention as much as the articles on how to wrangle 3 kids.


This particular recipe was a no-brainer for us because the ingredients are staple items in this house ("fat and fungus" is it's own food group around here).  Throw in the corn and suddenly I believe it's healthy.


I actually made this as part of Mr. Devlin's Father's Day meal. The Dev's is a notorious meat and potato man, eating veggies only to show he can be a good role model when little eyes are upon him. But it's not like I was going to put him to the brussel sprout test on his special day (that's what Monday's are for).


Naturally, after scanning the recipe, I pretty much did what I wanted with it. Having some bacon already cooked off for a batch of bacon cheddar scones, I could easily skip that step of cooking it in a skillet but that also meant I wouldn't have the necessary fat required to saute the mushrooms in. Also not a real problem for me because I save my bacon fat.  I told you-fat and fungus are taken seriously in this house.


Ok, so basically, all you need is:

bacon--cooked or not is up to you but you'll want about 6 pieces for 4+ servings, chopped
chopped onion, shallots or chives-- I have chives so that's what I used (about 1 heaping tablespoon) but if you are using onion or shallots-about 1/4 cups, chopped fine
mushrooms--button, bella, porcini, oyster, shiitake--entirely up to you but you'll want about 3 cups, sliced or chopped
corn kernels--1 1/2 cups-2 cups frozen or maybe you want to shave off some from some leftover ears if you have some laying around
salt and pepper--totally to your taste


Saute the bacon, adding fat if you need it. If you don't have enough to saute mushrooms in, add a pat or two of butter. Now toss in the mushrooms and onions, stirring now and then as they soften and absorb all the bacony goodness. Adjust your heat as well-medium is a good place to be. When the mushrooms have a bit of browning and softening going on and the onions are somewhat softened, toss in the corn and season to your taste. This is really all there is to the recipe.


I served this as a side to steak and potatoes but I'd easily whip up a bit of this to put over scrambled eggs or hash browns in the morning as well.

Wednesday, April 20, 2011

What I Dream About At Night: Crostatas

....and now that I've answered that question, you can all go about your lives again, fuller with knowledge.....
What can I say, titles aren't my strong suit.

The truth is, the other night I was reading a food-related article (by which I managed to gain 2 pounds, I swear) and in passing the author mentioned crostatas. I was distracted from that point on. Only by mentioning it to some of my girl friends on facebook was I able to divert my energies from heading down to the kitchen at 10 at night to make a batch. But I still had a dream about them.

Appropriately (as crostatas are an Italian pastry, a form of a pie), I was suddenly Italian and in a rustic kitchen, yelling after more children than I have and rolling out buttery dough to fill with figs...the rest of the dream turned into some sort of crazy Oceans Eleven plot, with my husband in George Clooney's role--I won't bore you further.

Needless to say, I'm in the kitchen today preparing a batch. My recipe yields 18 pies and is suitable for almost any fresh or frozen fruit--I wouldn't, however recommend bananas for this recipe-they just don't bake up pretty. If you don't happen to have any fruit about, use a can of pie filling; it's not as authentic but it certainly will get the job done (try the lemon pie filling if you want a real treat).  Frozen fruit should be thawed and any excessive juice drained off.


Meanwhile, let's prepare the dough:

In a large bowl, combine the following:

4 cups AP flour
1 tsp salt
1 cup sugar

Stir these together before blending in


1# cold butter, diced small (um, yeah, it's a lot of butter but it's worth it; if you don't want to use that much butter, you can substitute up to half of the amount with cold shortening but NOT MARGARINE-YUCK!!)


Using your hands to blend in the butter to pea-sized chunks in the dough is the really the best way to form this dough. When the dough is the consistency of wet sand, with some chunks of butter here and there, add in anywhere from 4 to 8 tablespoons of ice water. Go slowly with the water-some days your dough will need more and other days, less. You need enough to bring the dough together. I like to form mine into two even balls because they are easier to work with. Wrap both in plastic wrap and place in the fridge to chill for at least an hour (on a hot day, give more time for chilling).


thawed mixed berries
with flour and sugar
I also used some fresh plums,
sliced thinly and
tossed with flour and sugar
While the dough chills, you can prepare your fruit. If you are using fresh or frozen which you have drained, toss the fruit lightly with a little flour and sugar, just enough to coat it. This will help the fruit thicken some while it cooks. The crostatas are more of a shallow hand pie and some juice will cook it's way through.


When you are ready to prepare the crostatas, pull one ball of dough at a time to work on a lightly floured surface. It is important to use enough flour to keep the dough from sticking to your work surface but not so much that it dries the dough out or you over-work the dough, which will make it tough.


Roll the dough into a square-don't worry that your edges aren't sharp. You will be cutting the dough into 9 smaller squares with a sharp knife.


Place a square on a prepared baking sheet, and put a couple of  tablespoons of filling  or a couple of slices in the center of the square. Don't be tempted to over-fill. It might seem like a lot of dough for a little fruit but the dough is somewhat like a sugar cookie and pleasurable eating.


step 1: pinch
step 2: lift
 I admit, the next step is kind of the tricky part because you are now going to turn your square into a triangle. It takes a little practice but once you do it, you won't forget how.

Taking the roughest looking side of the square, pull it up and pinch it together to form a point. This also causes two sides to come up to form the sides, leaving the last side of the square.


step 3: fold

Bring this last side up to meet the fruit. Fold over the ends and pinch them together. Now you have a triangle. If any sides tear a bit, just pinch it back together.


Crostatas are a rustic dessert so don't panic.


Also, it may seem like the sides are very high but as they bake, the tart will sink and relax. You want the height now to compensate for the way the butter will react at such a high temperature.


Repeat the steps until you have 6 on a bake sheet. Return the bake sheet to the fridge to chill while you continue with the next ball of dough. Chill the second pan while you preheat your oven to 450. Place the remaining 6 on a third sheet and chill it.


before
after


Sprinkle the uncooked crostatas with a bit of sugar before baking.

Depending on your oven, they will bake for 20-28 minutes. You want them to be more golden around the edges. Rotate your pans if any one pan seems to be baking faster than the others. You want the tarts to fully bake on the bottoms as well so don't yank them from the oven the moment they start to brown up  but don't let them go unsupervised for long.


Remove and cool somewhat before handling or serving. You can drizzle these with a bit of powdered sugar glaze, dust them with powdered sugar, top them with vanilla ice cream or unsweetened real whipped cream.


Crostatas make for good breakfast, brunch or dessert. Wrap any leftovers.

Tuesday, April 12, 2011

Crazy Granola-Making Hippies

The other day, my good friend Erin--writer of the ever-useful blog Myrtles and Muffins and cohort in many silly adventures through adolescence and summer camp- asked me if I had a post on making granola. And I honestly thought I did because I make it quite often at home. But after checking my archive I realized that we were both delusional and I needed to write said post so we could stop imagining things.


So, Erin, this post's for you....


If you grew up in my house, I don't have to explain that anything that has to do with hippies is total taboo. My father bravely served our country as a Green Beret in Vietnam and did not survive so he could raise some sandal-wearing, pot smoking, granola eating, Beatle-loving ingrates. I really really  took all of this to heart as a kid....well, I did wear sandals but I honestly didn't know a single Beatles song until I  started dating Mr. Devlin (who was shocked beyond words-and that's really saying something). As his parents were at Rutgers during that same period in history, he was raised in an environment of folk songs and "interesting " stories.

 We come from such different worlds sometimes.


Needless to say, I didn't develop a love for granola until long after married and well into my "let's make what we can" stage of domestic evolution. This was before it seemed like everyone had their own recipe so I thought I was hot stuff.

But, seriously, is there any thing else that can make your house smell so good as a batch of granola toasting? I would totally recommend it to those of you trying to sell your house--work up a batch before a showing and see if it doesn't top the ol' "cookies in the oven" routine.

And so, I give you my granola recipe; it's an ever-evolving thing, depending on what I have in the pantry. Experiment with what you love as far as dried fruit and nuts.


Speaking of nuts (no, not the hippies), I used to just rough chop whatever nuts I had laying around and toss them in with the oatmeal to roast but lately, I have stopped doing that after an incident where I burnt all the almonds in the batch. So now I recommend that you toasted the nuts separately on a sheet pan for 7-10 minutes and give them a rough chop with the knife so they are more pleasant in the mouth. Use about a cup to 2 cups of whole almonds, pecans or walnuts. (I have seen recipes with peanuts that also uses peanut butter but I haven't gotten that far yet-I still love me some traditional stuff).

So, preheat the oven 325 and roast the nuts you are planning to use. Make sure to set a timer and just set them aside when they are done.

In a large bowl, mix together
8 cups of oatmeal, old-fashion rolled oats work well but I have also used steel-cut
1 cup flaked coconut
1/2 cup wheat germ (optional)
1/2 cup sunflower seeds (optional)
the oil will just sit on the top
so please be careful not to
splash yourself

In a small saucepan, add the following:

7/8 cup vegetable oil (I prefer canola or safflower)
1 1/4 cup packed light brown sugar
pinch of salt
1 tsp cinnamon
1/2 tsp fresh ground nutmeg
1/2 cup of either honey or REAL maple syrup (or a combination of the two)

Over medium heat, stir these all together just until the sugar dissolves and there are no lumps. You aren't trying to get it to a specific temperature or take it to a simmer-just trying to make the mixture liquid. The oil will rise to the top all the time and the sugars will sink so just keep stirring. When your mixture is evenly blended, remove from the heat and add 1 tbs vanilla extract.


Pour the contents of the saucepan over the oatmeal mixture in the bowl and stir with a large, heat-proof spatula until everything is coated, being sure to get all the dry stuff coated.


Because this makes a lot of granola, it is easier to use two large cookies sheets that have been covered with either silpats or parchment (only use aluminum foil if you have the heavy duty stuff-you'll be stirring the granola up a bit and the thinner stuff will tear). Level out the granola over the two sheets evenly and place in the oven. Set a timer for 10 minutes and let bake.


When the timer is done, stir up the granola, rotating the sheets top to bottom and turning the pans. Continue baking for 5 minutes before repeating the steps. You will continue this step for a total of 20-30 minutes (depending on your oven and the ability to hear your timer). The goal is to have evenly-toasted, golden brown granola.


When you have achieved that, remove the pans from the oven and let them rest on a cooling rack, stirring now and the to remove steam until the pans are completely cooled. Now you can pour it all back into the big bowl you started with (that obviously, you've washed and dried).
apricots, raisins and
cranberries with
chopped pecans


At this time, you can stir in the nuts and 2 cups of whatever dried fruit you like--raisins, cranberries, chopped apricots, chopped prunes, mango pieces, chopped pineapple, blueberries, strawberries, cherries. There is so much to chose from so go crazy. The only dried fruit I wouldn't add is banana chips because they just get kind of soggy later.


Put your granola in an air-tight container. I use a couple of ziploc bags myself and generally, I try to use up the granola within the month. Keep in a cool, dry place for storage.

Thursday, April 07, 2011

Happy Anniversary to Me (Us?)

A year ago, I took the plunge into the literary pool of blogging and started this site. At the time, I had an infant, a kindergartner, a husband with a new business and an overwhelming sense of personal craziness.


It's possible that all have managed to do is branch out to find new things to stress over...because I'm like that.


There are a few things I feel I need to address first, for those of you who happen upon here at random.


Through this year, I know many have hit this site due to my blog name. And I have messaged the brave few who questioned just what *exactly* my deal is. I've considered changing the name a few times for fear that my macabre sense of humor is a mockery of the knife of illness that stabs at our numbers seemingly randomly. It's simply not true. The bottom line is that I chose the name 3 years before I started blogging after a long night in the kitchen,  so I could comment on my sister's blog, never intending to publish...and then I woke up a year ago and decided to publish, assuming the only people who would ever read this would be my mom and siblings. Man, was I wrong. Lesson learned....but I'm keeping the name because BB still sums up the duality of my existence, the ups and downs that are my every day. Extreme to no one but me, I am sure.


research

 Love me through this, dear reader, I evolve slowly sometimes.


Also, I would like to mention that just because my nickname is Betty Crocker, not every recipe listed here under that name is affiliated with the corporation that employs that imagine. In fact, very very few of them come from THAT Betty. If I ever publish an actual book (not that I plan to), I won't be able to use most of this site. Another lesson learned.


That said, I wanted to give some updates on some of the posts from this past year....things that worked out, stuff that didn't...


For instance, Thing 1 and Thing 2 are still alive and thriving despite all the recipe testing. No longer an infant and a kindergartner, they are a wall-climbing toddler and not-for-long 1st grader who has legs like a colt and the eyes of ancient soul.


The most popular post I've written was also one of the most painful. Who knew anyone still wanted another chicken soup recipe.


The second most popular post was for no-bake bar cookies that I still love so much I could eat a whole pan.


it's like a metaphor
I am still using homemade laundry detergent. Despite having dirty children who are learning to feed themselves and to not act like wild dogs, I have clean, fresh-smelling laundry that I am very happy with. I have not noticed any graying or fading and I'm spending less than two pennies a load AND I only have to make the soap every 3 months or so. I call that success.


Likewise, the all purpose cleaner is still getting a workout here. I use it for pretty much everything-including removing spots from the carpet. Mr. Devlin gave it a solid testing and gives it his seal of approval as well.  It's worth the effort.


Yes, I still make my own donuts....if you fill them with Nutella, it's possible you may fall into a coma--you've been warned.


Thing 1 has already put her vote in for another round of Easter peeps. Homemade marshmallows are within your grasp-don't be scared.


yes, the tomatoes worked

Likewise, homemade preserves are not just for over-achievers. I'm currently preparing to make the season's first batch of strawberry jam this weekend actually.


I'm proud of how far my homemade tortillas have evolved...enough so that I'm willing to serve them friends. Honestly, I can't begin to explain how having fresh tortilla changes even a simple quesadilla--Alice Waters would be so freakin' proud of me.


pot scrubbers
I'm still looking for more ways to recycle baby food jars but this certainly has helped....and Thing 1 loves them.


My post scrubbers went through a small makeover when I figured out how to work in an abrasive side by using a packet of hem tape as the starting circle. Hem tape is basically straight lace, generally in all kinds of colors, 3 feet long. It's the perfect amount to give the scrubby some, um, scrubby. Plus, these bad boys are so durable- I just throw them in the laundry and they are back to new.


After giving me crap over the first batch, Thing 1 started referring longingly to her blueberry poptarts as some kind of special treat that I withhold from her for spite. There is no winning as a mother, really, I guess the best I can hope for is that my grandbabies will someday ask me to make poptarts for them like I did for their mother....it's true, I totally can't wait to be that grandma that bakes all the really good stuff..


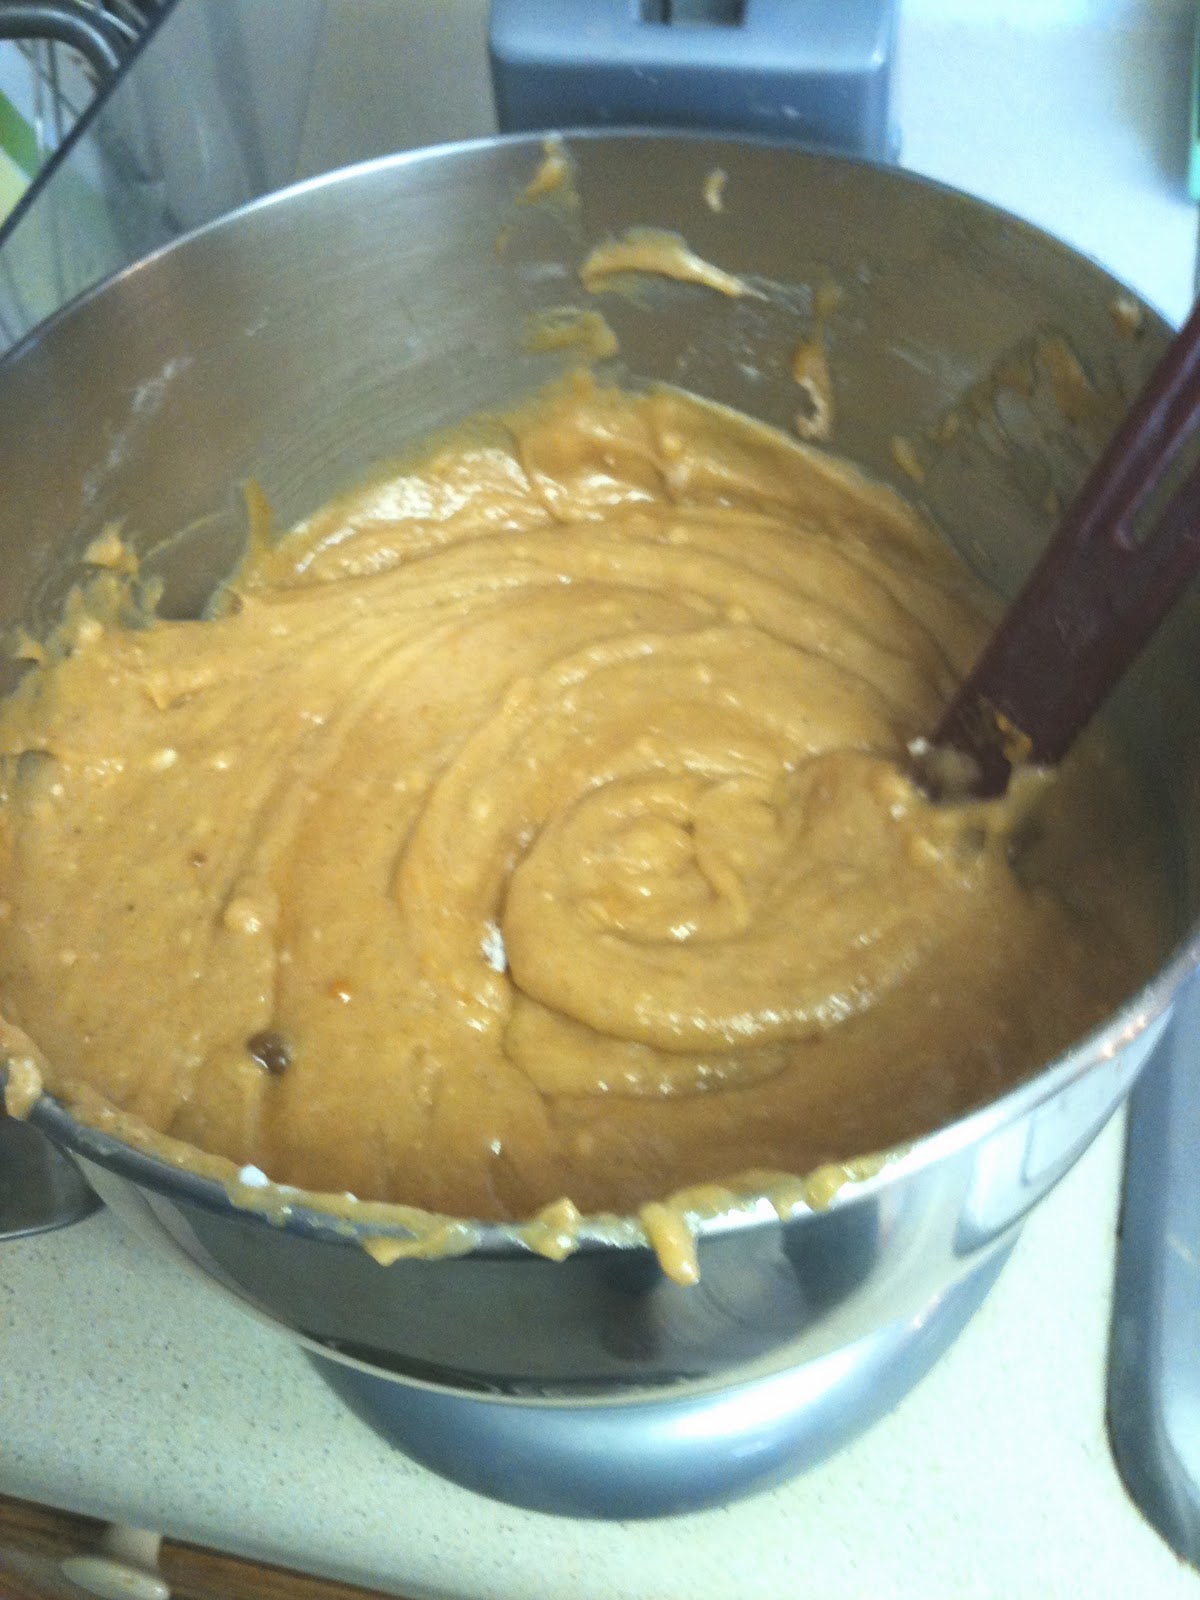
Despite the break in our routine due to my morning sickness, we still eat a fair share of muffins and scones so check out those recipes if your looking for something new.


I had a lot of fun with the Christmas baking this year- I hope next year's wow's you...and inspires you to try a few batches of this or that.


I am brain-sketching new ideas to bring to you to make your lives easier, to spark some creative action on your part or to give you something really easy to make for dinner because you've run out ideas today.  If nothing else, I hope you get a chuckle.


So, send me an email or leave a comment if I missed something you were wondering about or if there is something you'd like me to cover (I PROMISE I'm still trying to find more one-pot meals and the how-to's on artichokes).


I'll be taking a small break in September for Baby #3...while we have chosen REAL names for this little person, I need something clever for here...I don't really think I can call them the Lorax, you know?


...17 weeks and counting.

Every day is a gift. Even when I'm cranky. Even when I have no way to plan for what is coming next. I'm only human and my family loves me despite that and because of that....and I love them for the same reasons. My job is to do the best with what I've got and never stop learning or growing or trying. And God will take care of us--He always has.


....that's what I've learned this year...I can only wonder what this next year holds.