
Look, when you've handled as many cakes as I have, you really start to form a distancing mechanism in your head over the ratio of birthday tidings to buttercream consumed. Don't get me wrong-I love buttercream. And I love making a traditional cake for those I love if that's what makes their day seem super duper special. Granted, it never stops me from making snarky comments to Mr. Devlin every year that I have to make him a craptastic chocolate cake from a box mix, complete with store bought vanilla frosting in a tub. (I mean, seriously, I'd gather cocoa beans for the man for his cake if he wanted but every year he asks for the same ol' same ol'....what a waste of my gifts!)
Me? I like something that says "a foodie lives here and knows how to celebrate." I. AM. A. SNOB.
 This year, I turned to one of my favorite chocolatiers- Alice Medrich. Self-taught and self-motivated, her recipes are ripe with experience and a sense of humor. Cocolat and Bittersweet are books worth investing in. This recipe comes from Bittersweet and is called The Queen of Sheba cake.
 Dark, moist and not at all heavy, this cake is the proverbial little black dress in the pastry kitchen. And when you have Alice's experience, you'll know just how to accessorize it. Also, it can transform itself to gluten free at the snap of a finger, because the 2 tablespoons of flour in the recipe are not for structure, but for absorption so feel free to substitute wheat flour with a bit a brown rice flour instead.
The recipe:
6 oz. bittersweet chocolate--preferably a 60-70% chocolate. If the chocolate you are using doesn't have a percentage on it, it's semi-sweet. You could use it but you won't get the full effect of a nice, dark crisp bittersweet. Read your labels and try something new.
1 1/4 sticks (10 tbs) butter, diced
3 tbs liquor. I went with a bit of Jack Daniels green label but you could use cognac, brandy, scotch...
1/8 tsp almond extract
1/8 tsp salt (kosher or sea salt; leave the iodine on the table where it belongs)
1/2 cup blanced almonds (this is about 2 oz or what you find in those little bags in the grocery store)
2 tbs AP flour--again, go gluten free here if you need to
4 large eggs-separate when they are cold and allow to come up to room temp so your whites will fluff more
3/4 cup sugar
1/2 tsp cream of tartar
 You'll need a springform pan for this cake. That's the pan you would use for a cheesecake, with a clasp on the side and a removable bottom. While the recipe calls for a 8x3 pan, that's not terribly common (oh, Alice!) so a 9x3 pan works well. You need to spray the pan and use a bit of parchment on the bottom (use the pan bottom to draw the right sized circle, place in the bottom of the pan, close the clasp on the side and spray the paper.
 Place your oven rack so you can bake on the bottom third of the oven (NOT the bottom-most level but about the third rack down). Preheat the oven to 375, SallieSue and let's make a cake worth eating.
 Place your almonds on a baking sheet so you can toast them for approximately 7 minutes. Almonds burn quickly so set a timer. If you can smell them, they are already done.
When they have cooled, put them in a food processor with the flour and pulse until they are the consistency of cornmeal. PLEASE DON'T JUST TURN ON THE FOOD PROCESSOR AND LET HER GO-YOU'LL HAVE ALMOND BUTTER DESPITE THE FLOUR. The flour is meant to absorb the oils that the nuts release. If you don't just pulse the nuts, they will get warm and release all their oils and you will have almond butter, not almond flour. Be gentle.

In a heat proof bowl, over a small saucepan of water (bain marie or waterbath) add the butter you have diced and the chocolate you have broken up or chopped. Stir together over hot water (don't let the water steam-it ruins the chocolate) until smooth and melted together. Add the salt, almond extract and liquor. Stir until fully blended. Remove from the heat so the mixture can cool a bit to room temp.

In yet another bowl (yeah, this isn't for those of you who have to hand wash your dishes, I know...) whisk together 1/2 cup of the sugar with the four egg yolks. The mixture will start out grainy and bright yellow. It should look smooth, thick and a light lemony yellow when it is properly whisked.
 In a mixer bowl, add the cream of tartar to the egg whites and whisk on high. When the whites start to look, um, white, slowly pour in the last 1/4 cup of sugar while the mixer is still whisking. Turn off the mixer when you have stiff peaks (not twin peaks....and resist the urge to beat your poor whites until they just fall apart, ok?) Gentle, gentle.
Okay-so you have a bowl of almond flour, a bowl of chocolate stuff, a bowl of egg yolks and a bowl with egg whites. We are off to the races, my friends. Here's how it goes together:

 Add the chocolate mixture to the egg yolks and stir together until blended. To this, add about 1/3 of the egg whites and all of the almond flour. Don't worry about folding (the process of blending with a spatula by which you move over, down and under without deflating the ingredients of their air) the egg whites just yet. You are merely loosening the chocolate/yolk mixture for the rest of the whites.
With a large rubber spatula, fold 1/3 of the whites into the chocolate. Don't try to get it all worked in or you will over-mix it. Add the remaining whites and fold gently until it is mostly uniform in color. Be sure to work in such a way as to scrape down the very bottom of the bowl.
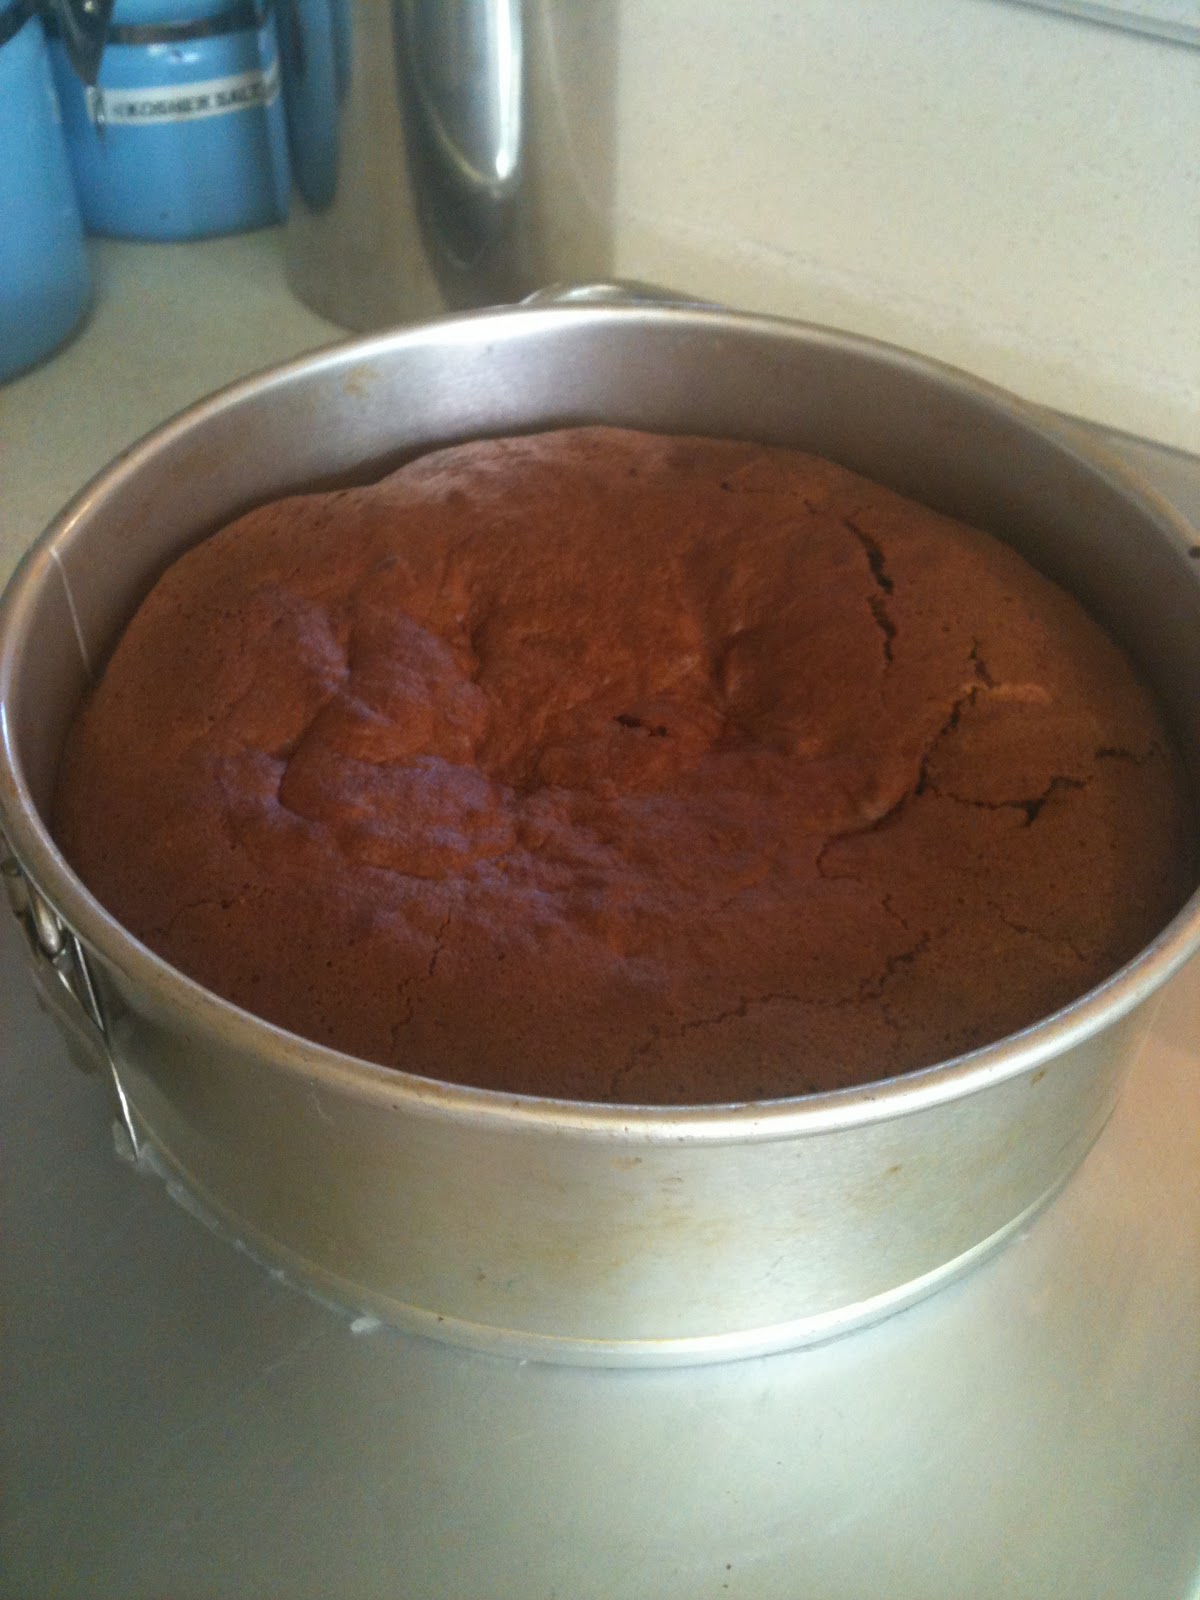
 Quickly scrape all of your batter into the prepared pan and place in the oven. Set your timer for 20-25 minutes. Depending on your oven (if it runs hot or not), your cake may need a bit more time. Mine was done in 22.
To test, insert a toothpick or thin-bladed knife into NOT THE CENTER of the cake--insert it about 1 1/2 inches from the edge of the cake. The center will still be moist but will continue to bake a bit outside the oven. If you wait until the center produces a clean knife blade, you will have over-cooked the cake and won't be happy with the results. This cake is about a delicate touch.

 Remove the cake to a cooling rack and cool completely before removing the sides. At this point the cake can be wrapped in plastic and frozen for up to 3 months or sit at room temperature for 3 days....I don't know who's house it would sit for 3 days in but you can.
For service of this cake, I placed it on a cake plate and dusted it with a little powdered sugar. I prepared some chocolate sauce and real whipped cream (heavy cream, powdered sugar, flavoring-in this case, more Jack--beat to stiff peaks) and washed some fresh strawberries.
Was it worth the work?
What work? this is how I like to celebrate life.

No comments:
Post a Comment