

First, though, let's talk about the filling because if you are making this particular tart, you'll want to do this step first. Well, actually, even if you aren't interested in learning how to make your own homemade vanilla pudding and are comfortable with the box stuff that looks way too yellow to be french vanilla, you'd still need to mix up your box according to the package instructions for a pie and have it chilling in the fridge. But let's say, oh I don't know, you are intrigued by the concept of never buying pudding again because you're an energetic, do-it-yourself-er.....okay, okay, I didn't feel like putting on decent (read: something other than my pj's) clothes and drive to the store for one measly box of pudding that is way too yellow to be real french vanilla.
Vanilla pudding is simply this:
3/4 cup sugar
1 1/2 tbs cornstarch
pinch of salt
2 cups milk
1 egg, beaten slightly in a small bowl
2 tbs butter, cold and diced
1 tsp vanilla extract
Add the first 4 ingredients to a saucepan and whisk together until smooth over medium high heat. When the mixture comes to a boil (you're still stirring here, but with a rubber spatula because it gets the corners of the pan better), reduce the heat to medium and continue to simmer for two minutes. The mixture will thicken. Remove from heat (read: don't turn off the heat, just move the pan to another burner for the moment-you'll be back) and add a ladle-full of the hot milk to the egg you've beaten a little. Whisk quickly and then add the egg mixture back to the saucepan mixture. (By the way, you just tempered your egg. Congratulations and take a bow-that wasn't nearly as hard as you may have thought). Return the saucepan to the heat and continue stirring for another two minutes. TA-DA!!! yeah, see, not hard-don't even pretend, I can't hear you.
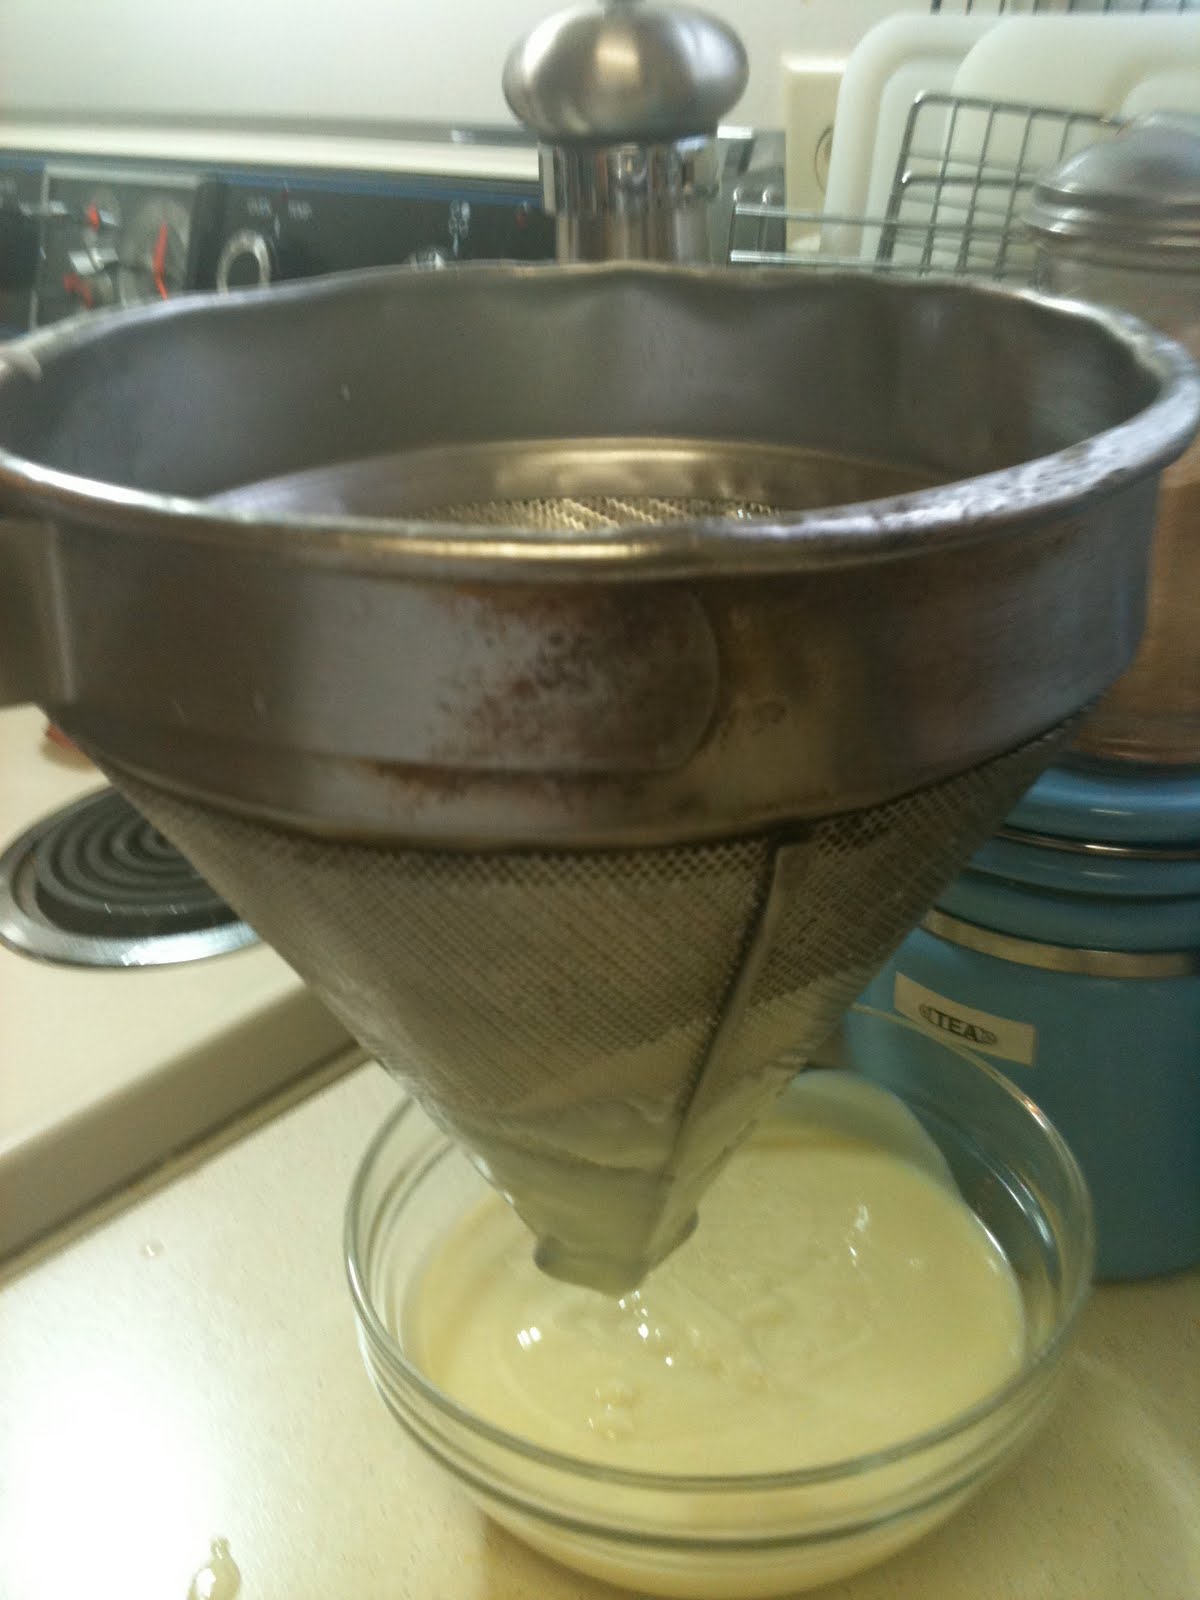
IF you are worried you might have unpleasant lumps in your pudding, you should strain it while its hot through a mesh sieve or a chinois, like this.
Cover the pudding with plastic wrap, making sure the wrap touches the entire surface of the pudding so avoid a "skin." Chill.
Now, let's make the crust. I'm using the 1-2-3 dough from the previous post because, well, because I have some. You could also use a sugar cookie dough if you have a favorite. Heck, if you really feel like it, you can use a tube of that pre-made stuff that you normally eat with your fingers while talking with your girlfriends. I don't care because I'm not eating it. But make sure you are using a tart pan with a removable bottom and make sure you sprayed that baby down. You'll be awfully pissed later if you don't. And don't bother with the rolling pin this time either. Just preheat your oven to 350.

First, I roll some of the dough into a "snake" and press it onto the sides of the pan, flattening the top edge with my finger.
 Next, I press the bottom in, using the heel of my palm to get everything even. You don't need to make the crust too thick, or you won't have room for filling but you also don't want thin spots where you can see the pan through the dough. Holey Holey Holey will take on a new meaning for you if you do.
Okay, pop your crust into the oven for 12-15 minutes or until the edges are golden and the middle of the crust doesn't have a glossy, raw look, but looks evenly dry all the way across the bottom. Place the pan on a cooling rack, being careful to pick the pan up by the sides, not the center or your hand will lift the crust out of the pan and you will curse me and everyone around you for ever trying this recipe. In fact, I leave my tart in the pan until I'm ready to serve it so I don't ruin the edges of the crust while I'm preparing the tart.
 Now, just fill the cooled crust.
And top with fresh fruit slices. I used fresh peaches, strawberries and blueberries here because that's what was lying around.
Any fruit works well except bananas and apples because they will discolor quickly.
** If you are planning on traveling somewhere with this tart or it is going to be out on display for a buffet or something like that, I'd seal it with a little bit of honey and water that you've heated together and brushed on with a pastry brush. Otherwise, just wrap this well with plastic wrap and chill until you want to serve it.
Really, that's it. You can serve with ice cream, whipped cream, powdered sugar, or--if you have any left, some of the pudding, slightly heated so it's thinned (aka creme anglaise--see, another mystery dispelled).
 |
| Enjoy. |
1 comment:
Effing delicious.
Post a Comment